

The Flooded Area
If the map markers fail to load or display correctly, try refreshing the page.
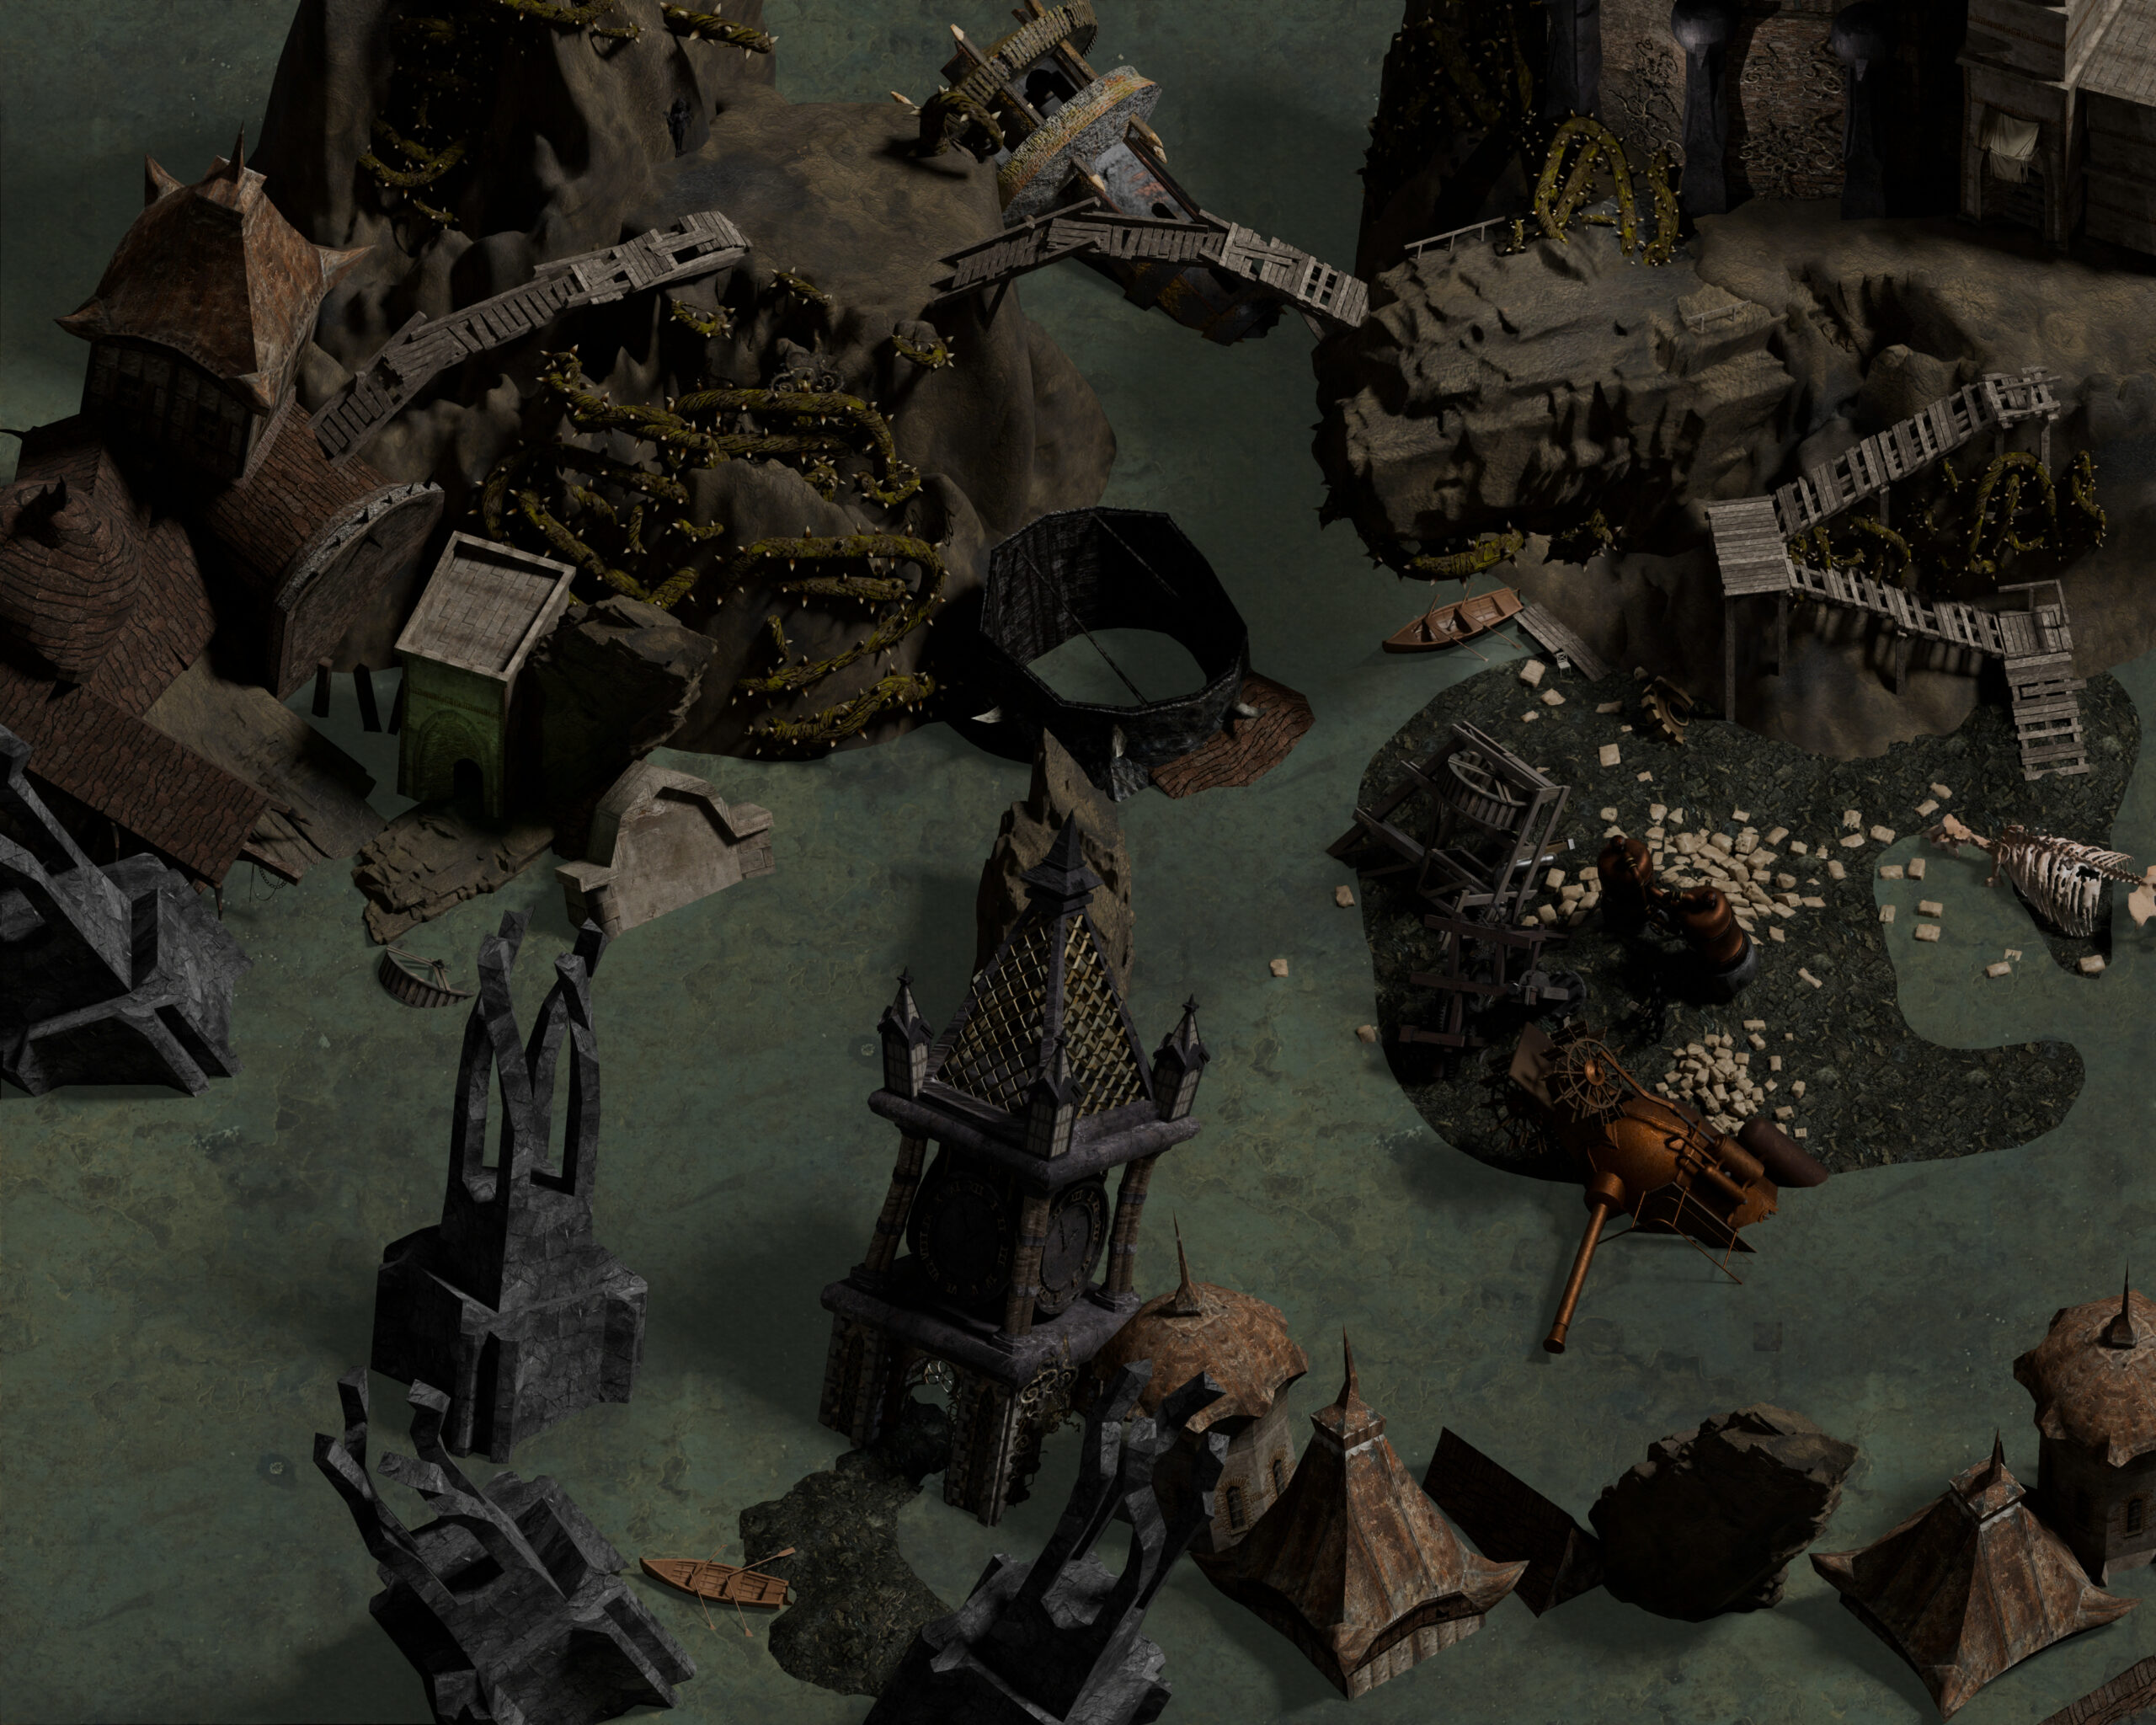
In the Flooded Area, we meet Vinrogé, a scholar from Tebystys, examining a nearby statue covered in razorvine. We can help him clear the plant, which spawns a razorvine blights that attacks us (and leaves behind a razorvine garrote, which might prove useful in the near future).
Vinrogé will identify the bas-relief as an image of the goddess Ishtar. We can learn many interesting things from the scholar, including information about the fire god Girru (whom we heard about when speaking to Alviro), the Ennead pantheon, innospheric powers, Tebystys, Mephistar, and Elysium. He will also reward our help with a pouch of jink. You can negotiate a higher reward if you have at least 18 Charisma.
In the west, we’ll find two flooded houses. One of them hides a passage to the Kuo-toa lair. However, before descending the stairs, we must deal with oozes and traps.
On a small island, we’ll meet Wurr-Turr, a corrupted modron – we can end its suffering (Lawful +1).
Near a small boat, we’ll find Skppr. If we already know (from talking to Fragile-Tail) that the portal to Cania is near the clock tower, Skppr can take us there for a small fee (100 coppers, or half that amount if you have 18+ Charisma). If the Nameless One has at least 19 Wisdom, we can engage the ferryman in a rather abstract conversation about his name.
After questioning Skppr about taking us to various places (specifically, after exhausting the dialog options related to boat transport), a sufficiently high Intelligence (19+) allows us to deduce that he is just a smuggler posing as a ferryman.
The flooded clock tower houses the portal to Cania. We can only open it if: we know of its existence from Fragile-Tail, we possess the correct key, and it is anti-peak (midnight).
More on this in the section: The Road to Cania.
Abandoned House
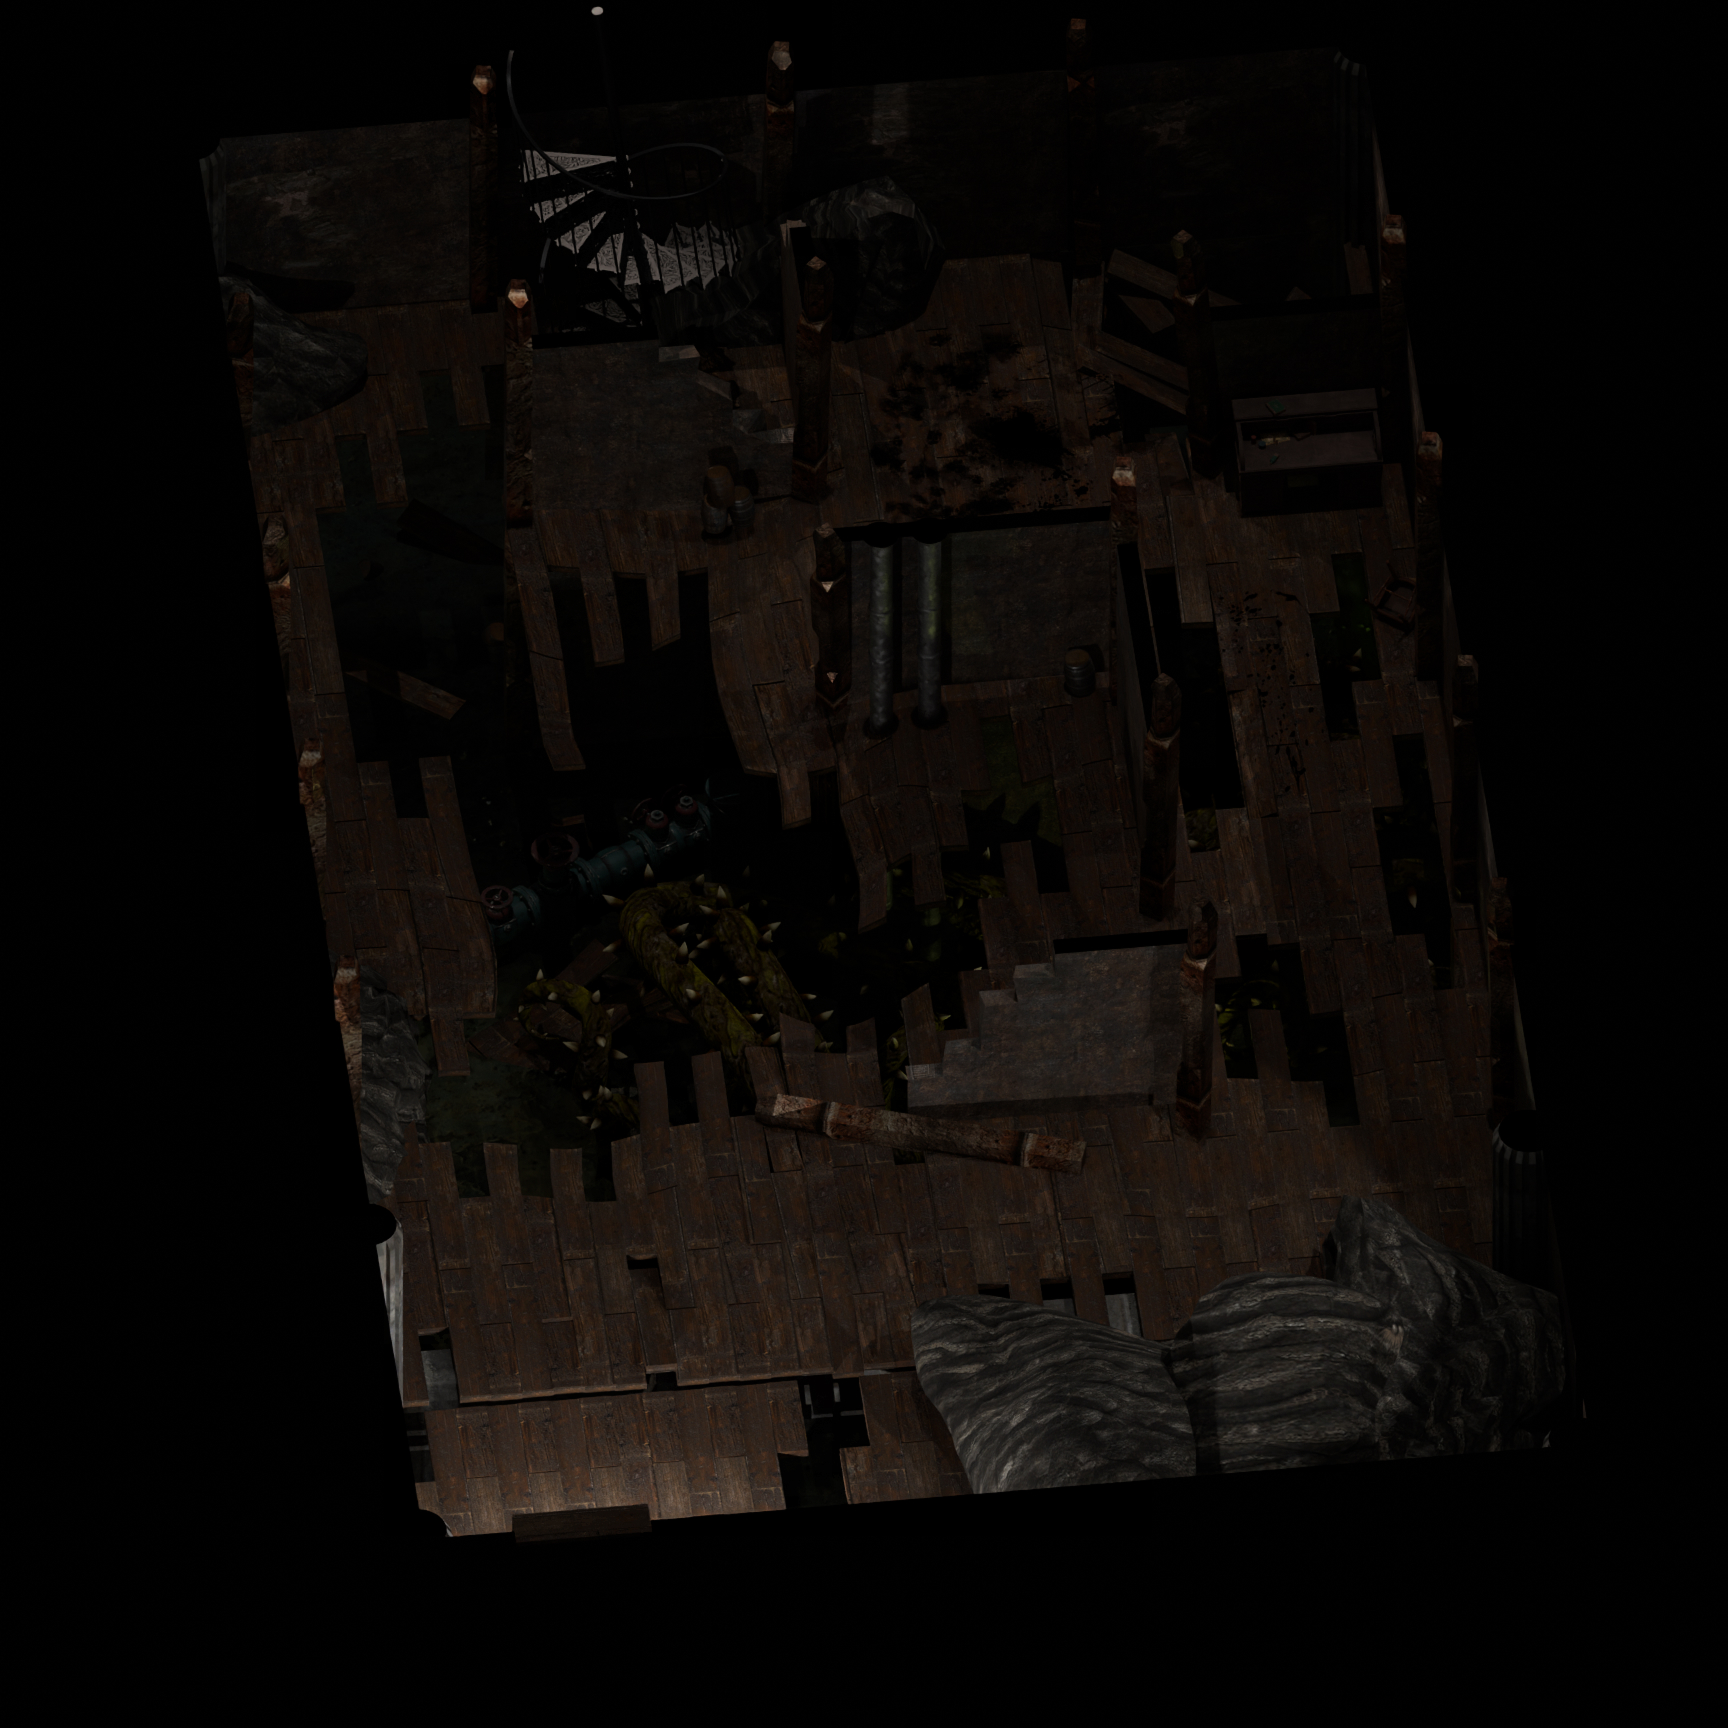
One of the abandoned houses in the Flooded Area (located in its western part) is filled with traps and oozes. If we manage to break through to the stairs and go down a floor, we’ll reach the Kuo-toa lair.
Kuo-Toa Lair
If the map markers fail to load or display correctly, try refreshing the page.
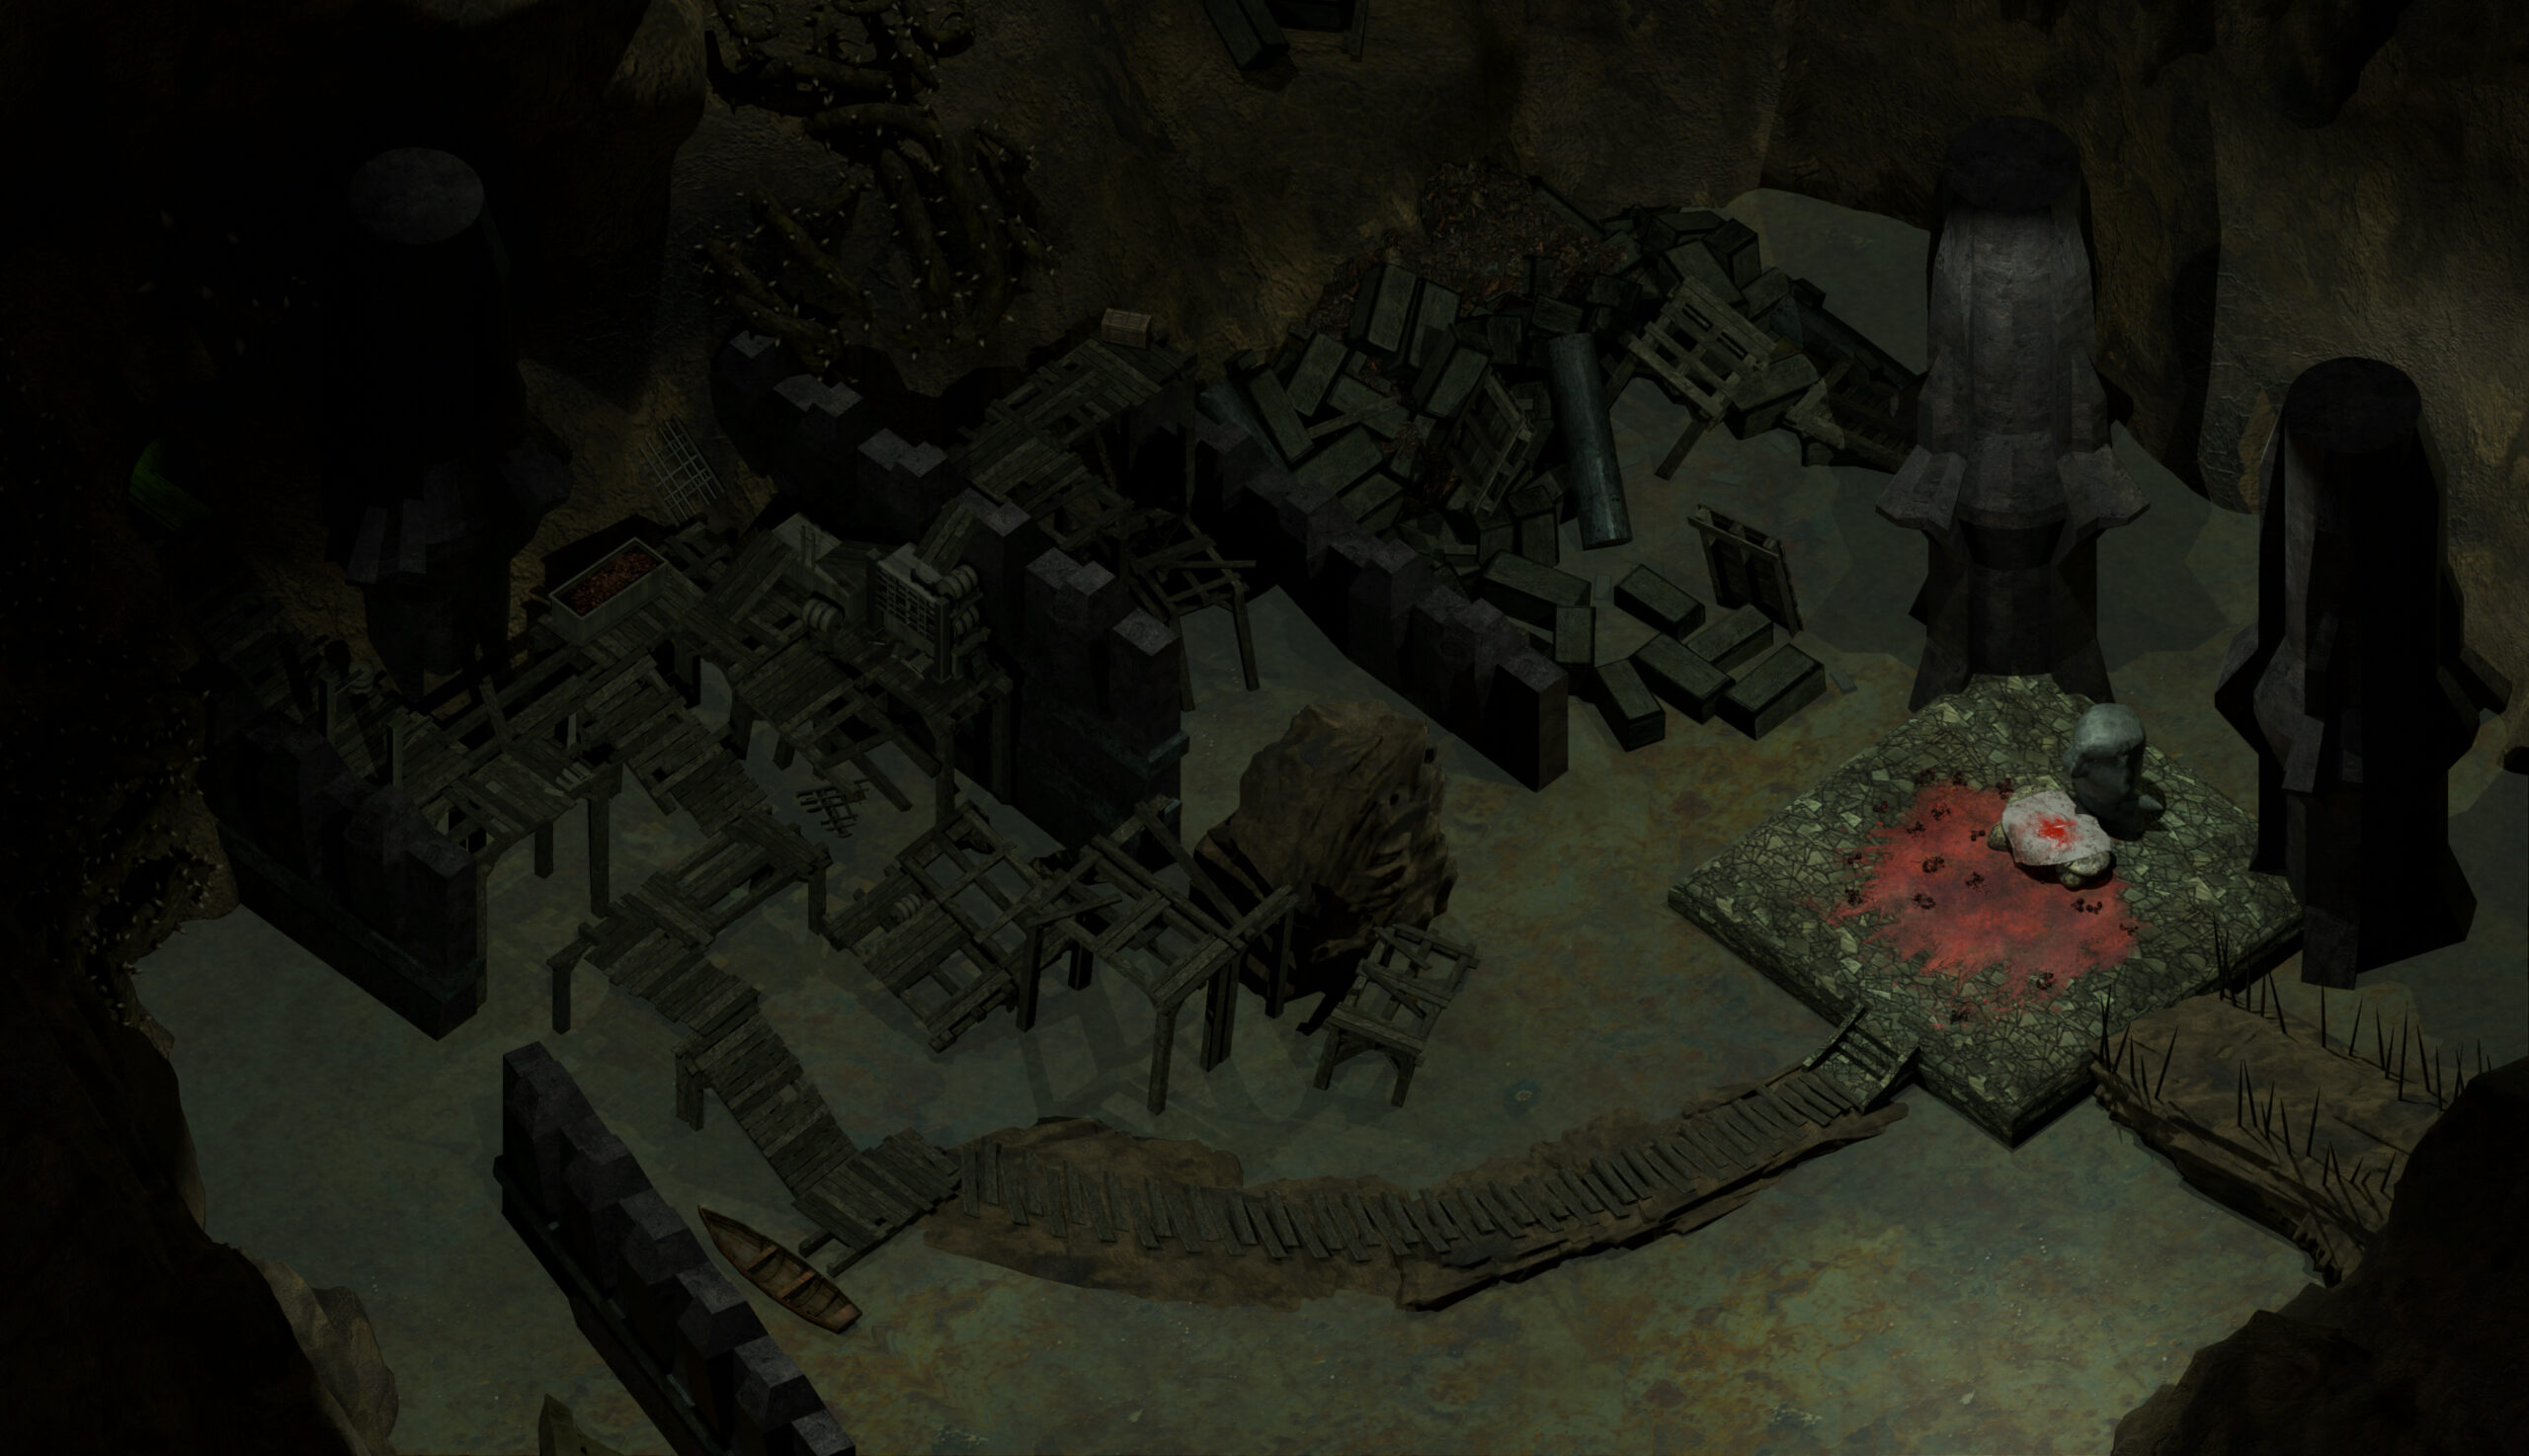
In the northern part, past a pair of oozes, we’ll find a locked container holding the book Day of Grace – the modron librarian in the Residential Area will gladly take this tome off your hands.
By the bloodstained altar, we will meet the Kuo-toa and their priest, Dopilp (the wererat Orville might have tasked us with getting rid of these fishmen). It is the Kuo-toa who are behind the kidnappings of the Ditch residents; all this time, deep in the undergrounds of the Flooded Area, they have been making bloody sacrifices to their master, the water god Istishia.
We can solve the fishmen problem in several ways:
- Become the new Kuo-toa god: Suggest the fishmen sacrifice you. The Kuo-toa will agree, and when the Nameless One rises from the dead, the priest will take it as a sign and, along with his retinue, begin to worship you.
- Sacrificing yourself on the altar permanently increases your stats: +1 to Strength, Dexterity, Constitution, Intelligence, Wisdom, and Charisma, and +20 HP.
- Warning: This act will anger the Lady of Pain, which – just like in the original campaign – brings you closer to becoming a prisoner of the Lady’s Maze (if this hasn’t happened already).
- Convince the Kuo-toa to change their faith: You can persuade the fishmen to worship Kiaransalee, provided you are also her follower (you can become one by talking to Narthuul in the Styx Oarsman).
- You can also convince them to worship Bhaal. The prerequisite is having previously discussed him with Kilthas (one of the prisoners near the Kuo-toa).
- Slaughter all the fishmen: You can simply kill the priest and his retinue.
- Betray the wererats: You can send the Kuo-toa to attack the wererats’ headquarters. This will result in the complete destruction of the Rat and Splat and the death of all its patrons.
- Fragile-Tail will also die in this scenario. His knowledge is essential for finding the portal to Cania, though you can loot a journal with his notes from his corpse.
- This act will also lead to the deaths of Orville and Poirat. If you want to, for example, kill Mantuok for Orville or help Poirat solve the riddle of the plague of threes, you should do that first.
Additional Interactions in the Lair
- Follower of Istishia: You can tell Dopilp that you are a follower of Istishia if you have 18+ Intelligence.
- Perks of Godhood: If you become the new Kuo-toa god, you can peacefully free the nearby prisoners. As their „god,” you can also order them to offer you monetary sacrifices or convince them to help the Ditch residents (resulting in Kuo-toa appearing in the residential area). In an act of extreme cruelty, you can even order them to commit mass suicide on the altar.
- Kilthas Dar’Abomyn: Among the prisoners, you’ll meet Kilthas Dar’Abomyn, a follower of Bhaal, the Lord of Murder. Annah, Dak’kon, or the Nameless One (if playing a Fighter or Thief) can free him from his shackles, which will trigger immediate combat with the Kuo-toa. Talking to Kilthas allows you to awaken the Nameless One’s memory of Bhaal (requires 18+ Wisdom). He will try to convince you to convert the fishmen to worship the Lord of Murder.
Now that the Kuo-toa problem is resolved, we can return to the Rat and Splat. If we got rid of the fishmen (or otherwise rendered them harmless to the wererats), Orville will hand us the key to the tower where Fragile-Tail is hiding. If we sent the fishmen to attack the tavern, we will find the entire place in ruins, but we can loot a journal from Fragile-Tail’s corpse that will allow us to continue the adventure.
- Return to the Table of Contents
- Next Page: Suicide Falls
- Previous Page: Rat and Splat